Choose a reference with a readable action
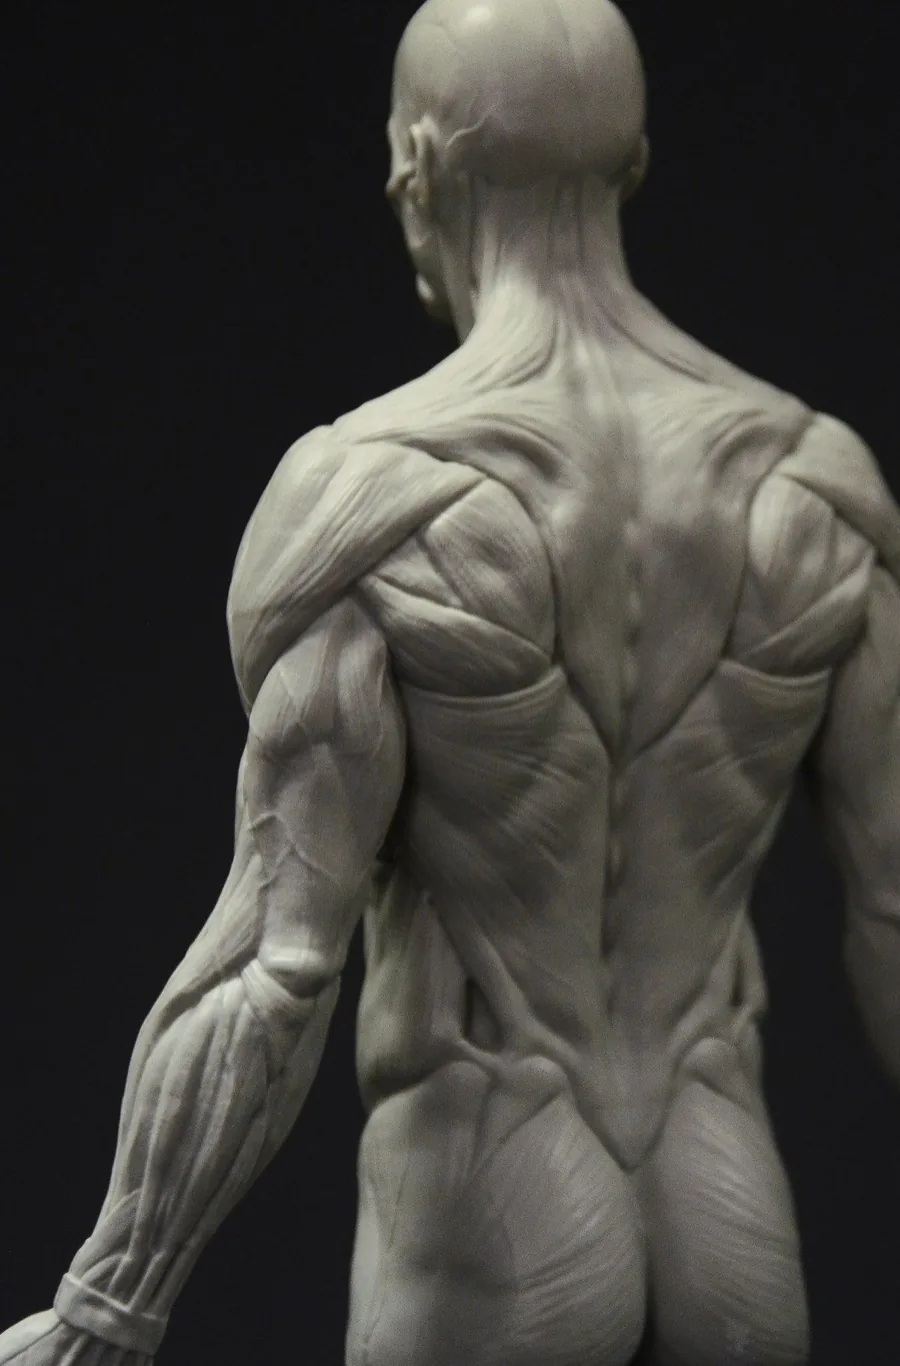
The best study photographs have a clear line of action and enough separation between major limbs to understand the gesture. Strong foreshortening is useful, but begin with a pose whose weight-bearing leg, rib-cage direction, and pelvis tilt can still be identified.
Crop distractions only after you have noted the ground plane and the direction of gravity. Those clues help preserve the balance of the original pose.
Check the detected pose with landmarks
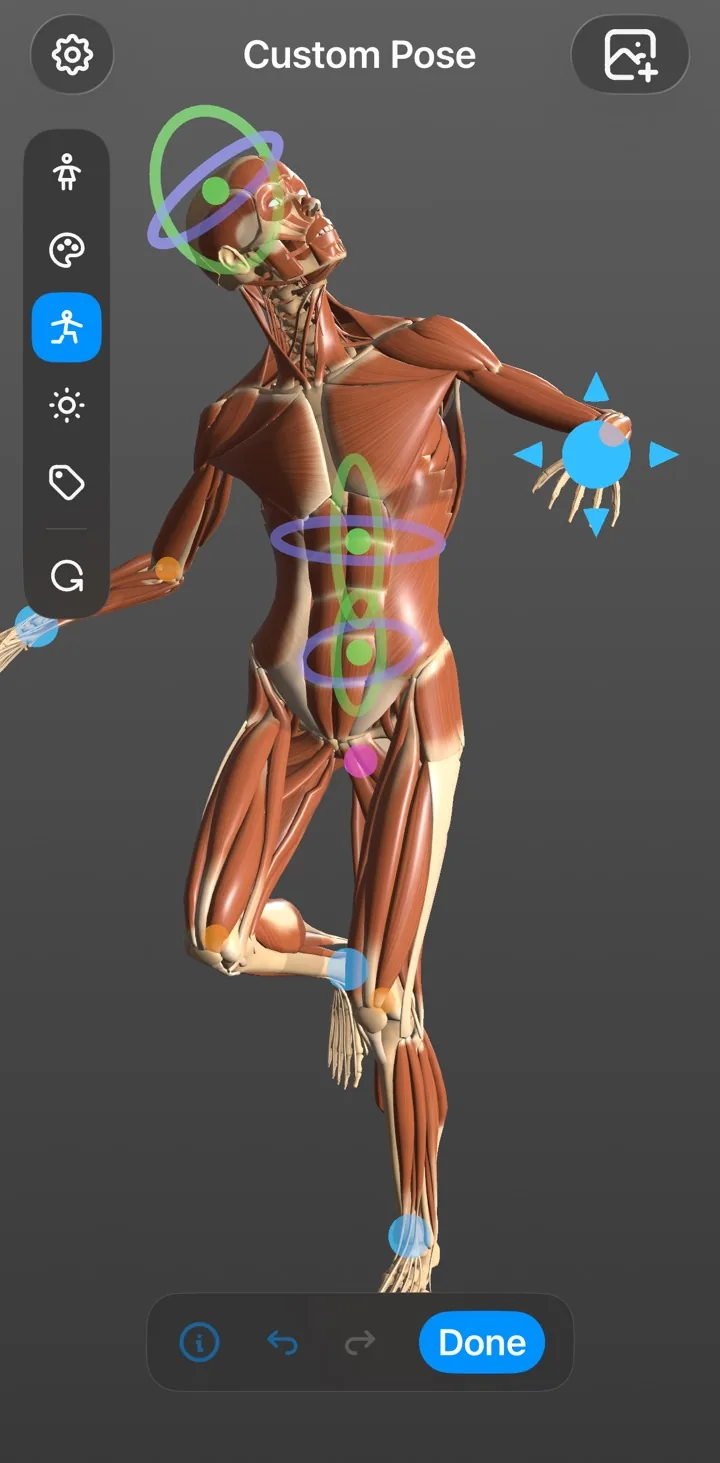
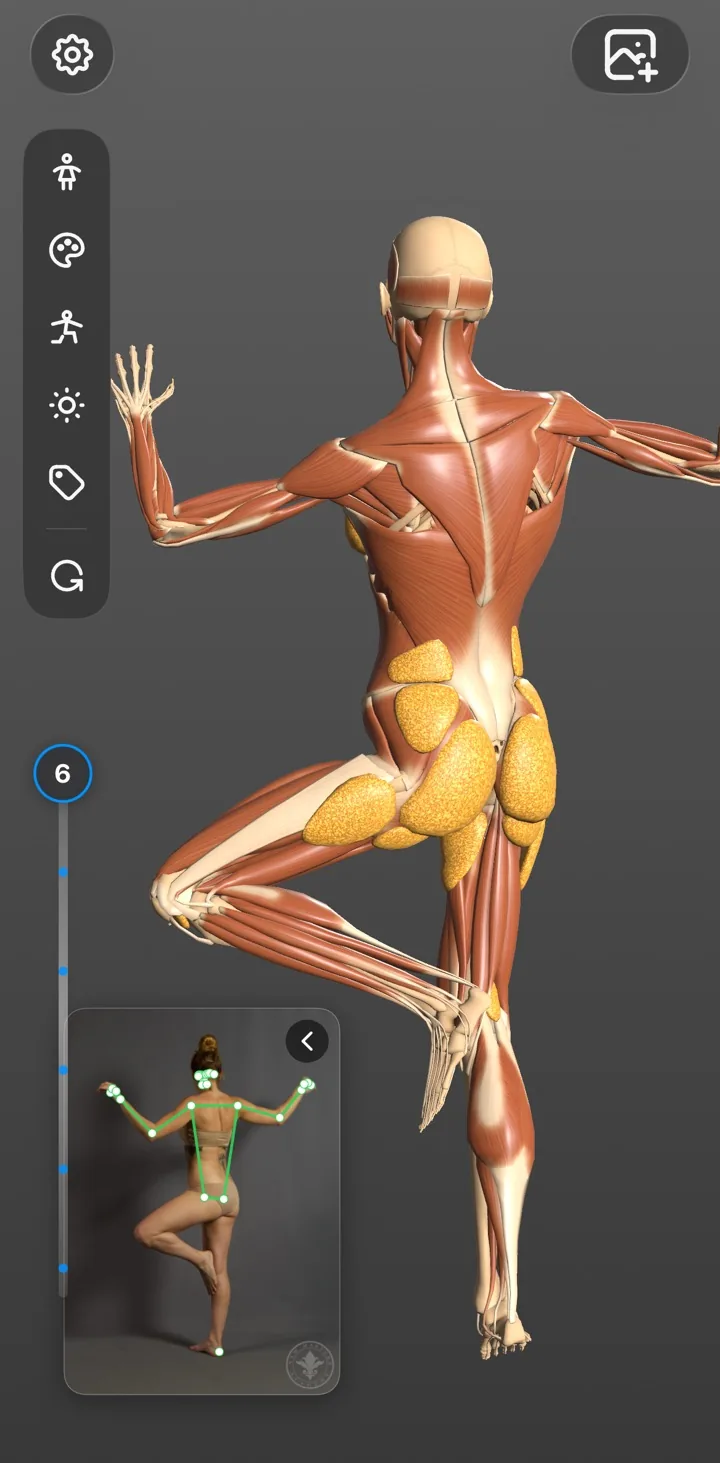
Automatic pose matching is a starting point. Compare the ears, shoulder line, elbows, wrists, pelvis, knees, and ankles. Adjust the model where perspective or overlapping clothing has confused a joint. Small corrections at the pelvis and rib cage often improve the entire gesture.
Orbit to understand hidden and foreshortened forms
Once the model agrees with the photograph, rotate it to inspect what the camera cannot show. Look at the far shoulder, the depth of the pelvis, and the path of a limb as it points toward or away from you. Return to the camera angle and translate that understanding into simpler overlaps.
- Use the skeleton for joint alignment.
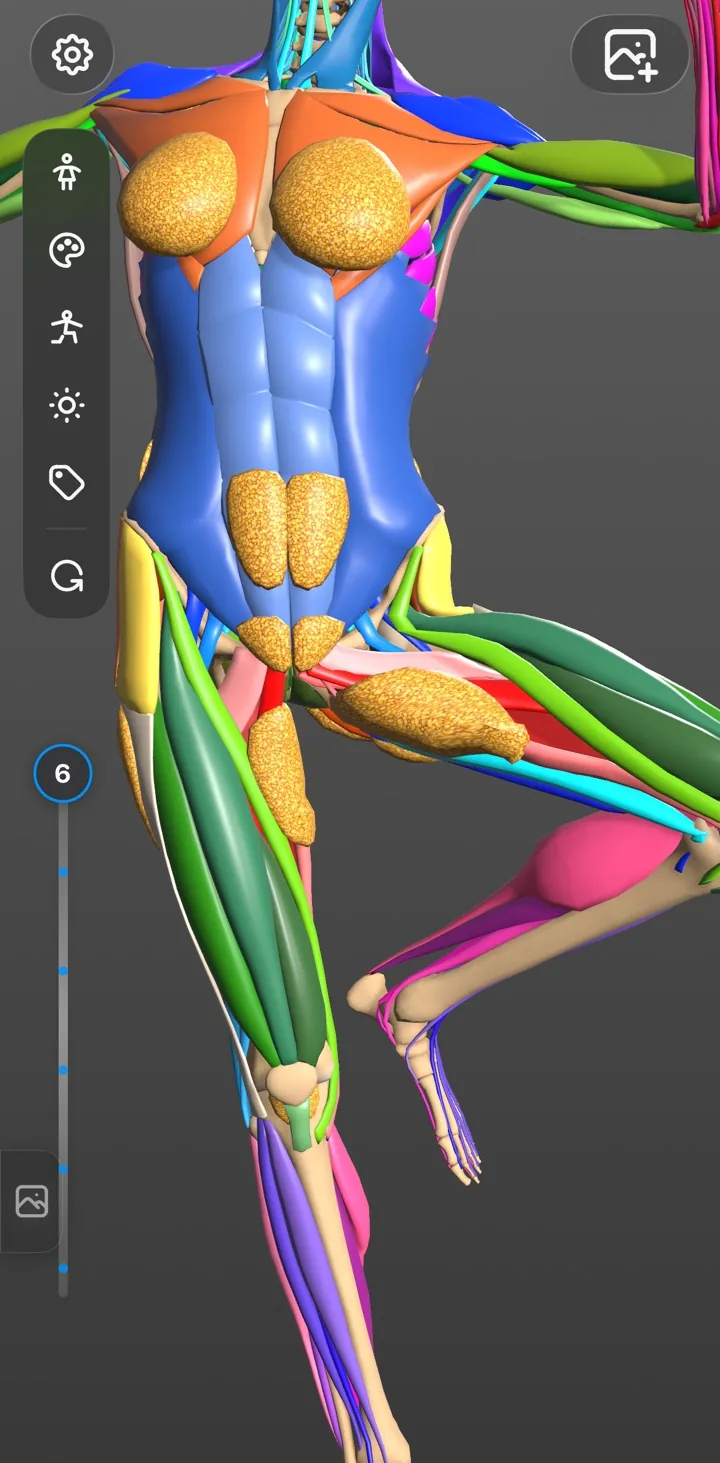
- Use the muscle layer for volume and attachment.
- Use the skin layer to compare the final silhouette.
Keep personal references private
Photos may contain personal or sensitive information. Art Anatomy analyzes pose photos entirely on the device and does not require an account or upload the image. You can study a private reference while keeping the original file under your control.