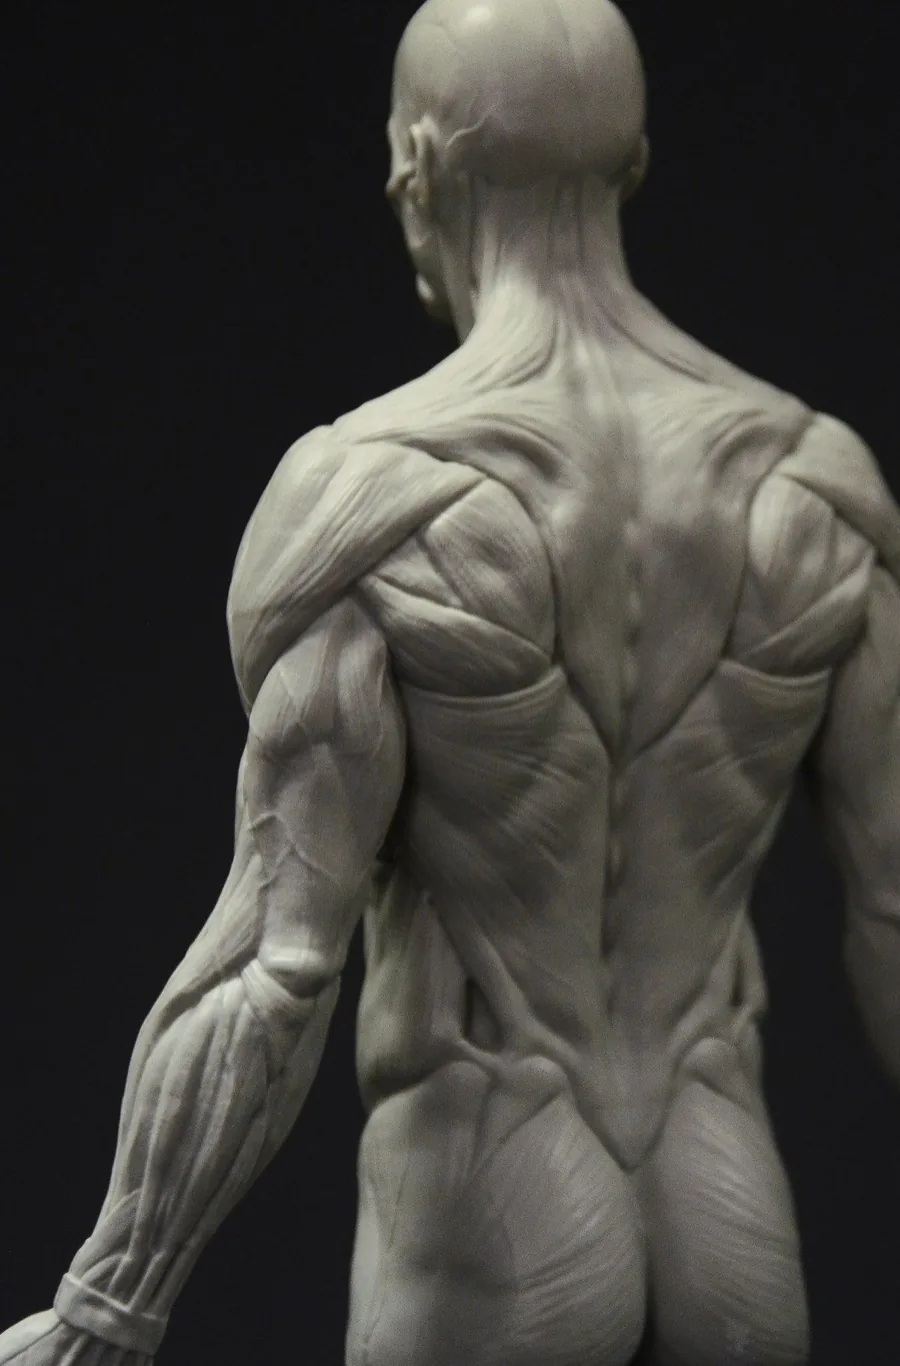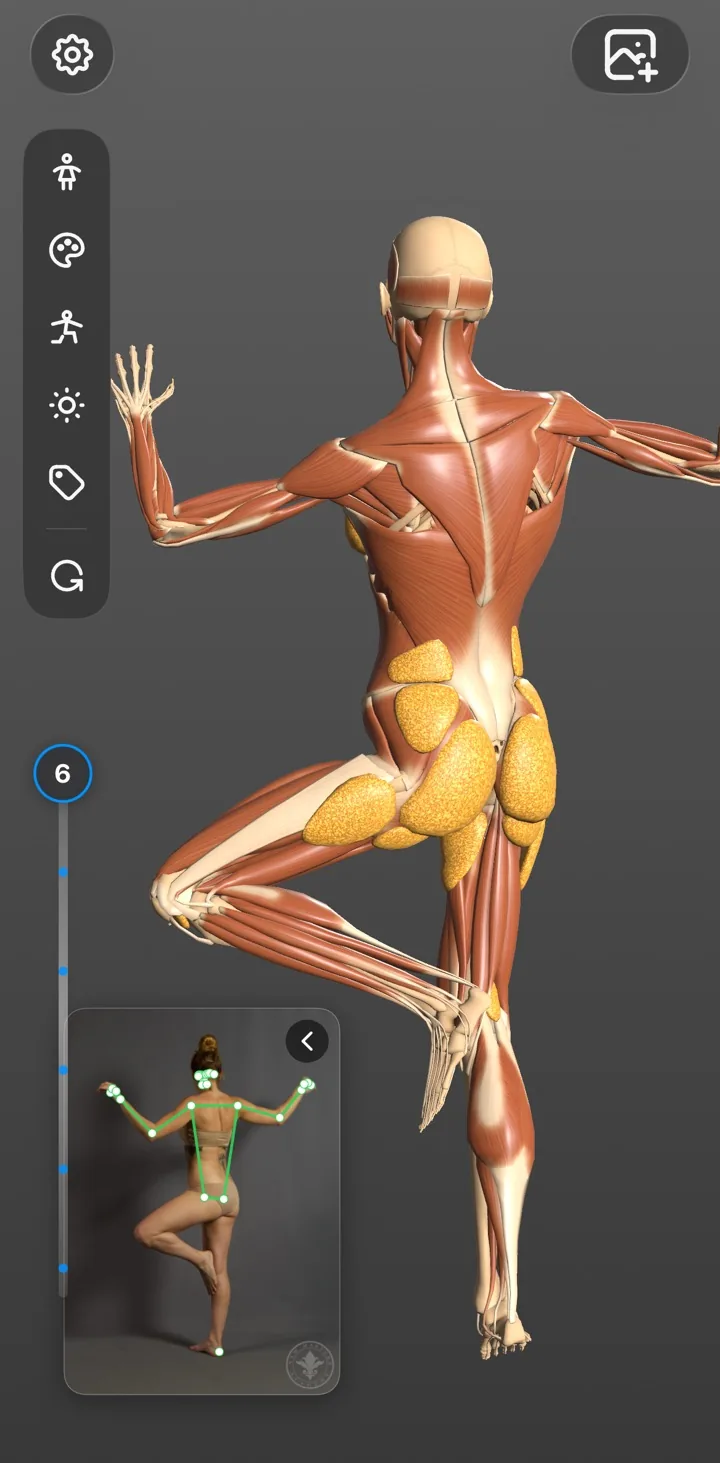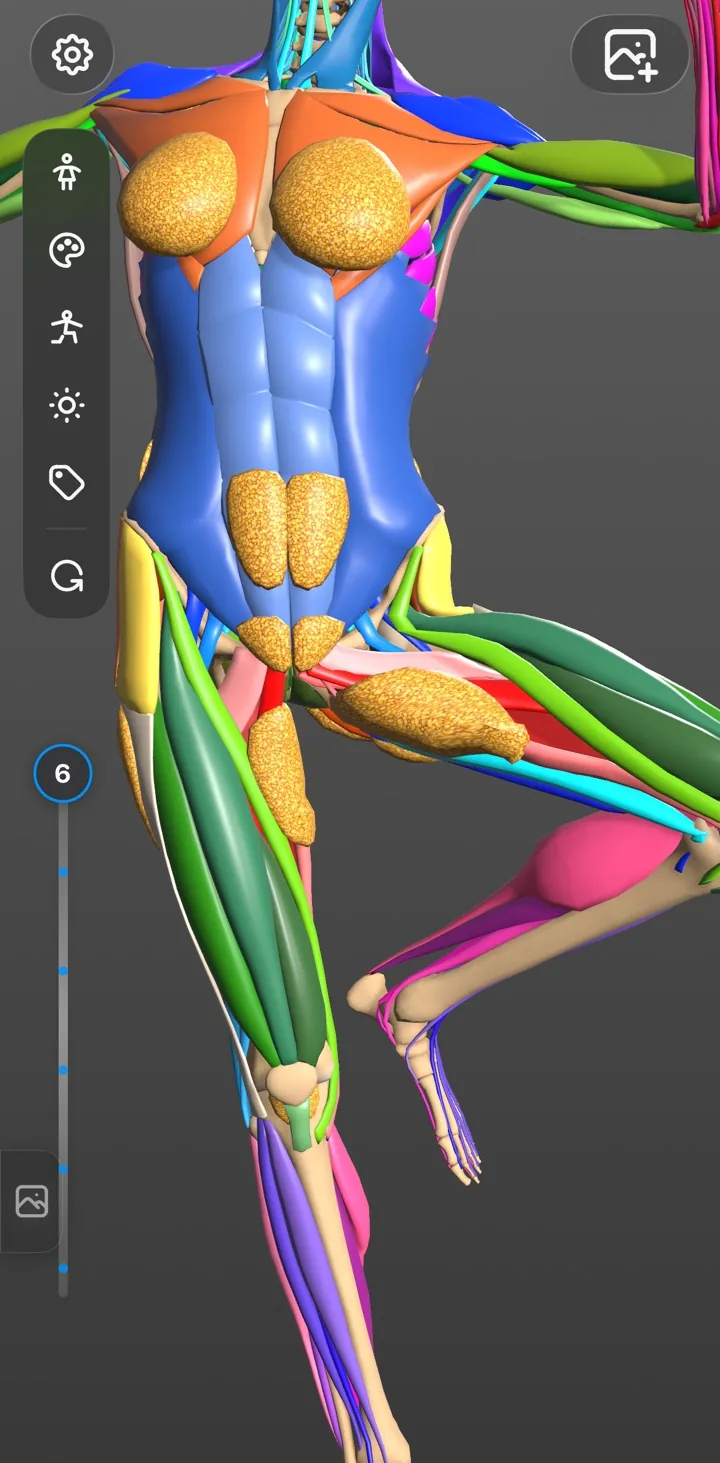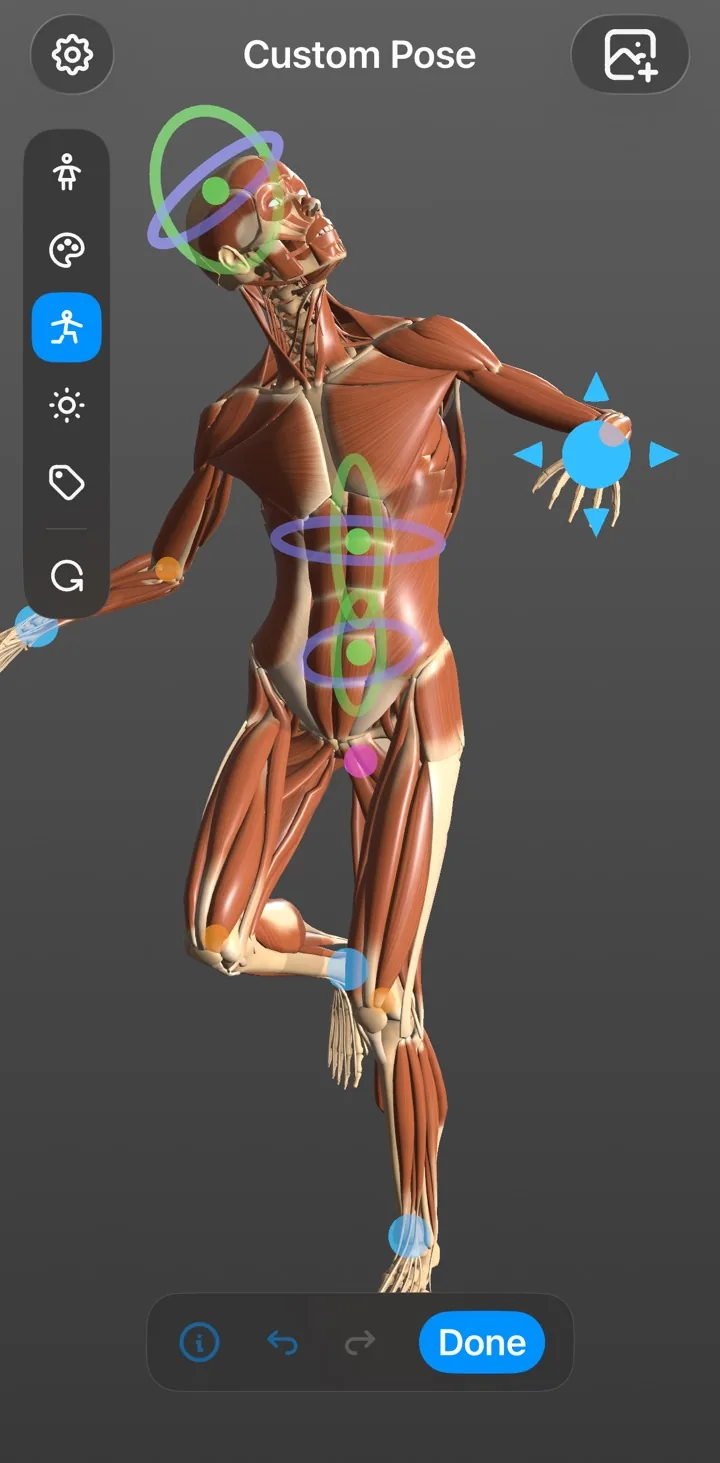
Begin with the gesture, not the muscle names
Start by finding the long action through the torso and the direction of the limbs. A convincing pose depends on weight, rhythm, and balance before anatomical detail. Match that action in the 3D figure, then orbit it until the silhouette and major overlaps agree with your reference.
This gives you a movable structural check without replacing observation. Keep the first drawing simple: head, rib cage, pelvis, and the main direction of each limb.
Reveal only the structure you need
When a contour becomes confusing, peel from the surface toward the relevant layer. Look for the bony landmark or muscle mass that creates the visible change. The goal is not to copy every exposed structure; it is to understand why the surface turns where it does.
- Use the skeleton to check joint placement and proportion.
- Use superficial muscle to explain visible masses and transitions.
- Use deeper layers only when an attachment or overlap remains unclear.
Check compression, stretch, and foreshortening
Muscles do not keep the same graphic shape in every pose. On the compressed side of a joint, forms bunch and overlap; on the stretched side, they lengthen and flatten. Animate an isolated muscle to see that change, then return to the complete figure and simplify it into the larger form you can actually draw.
For foreshortened limbs, rotate the model slightly past the camera view. Seeing the form from a nearby angle often makes the overlap easier to understand before you return to the exact reference.
Finish by comparing the surface again
After studying the anatomy, return to the skin layer or original photograph. Check whether the structural explanation improved the pose, then remove details that compete with the gesture. Anatomy should make the drawing clearer, not busier.