Organize muscles into visible groups
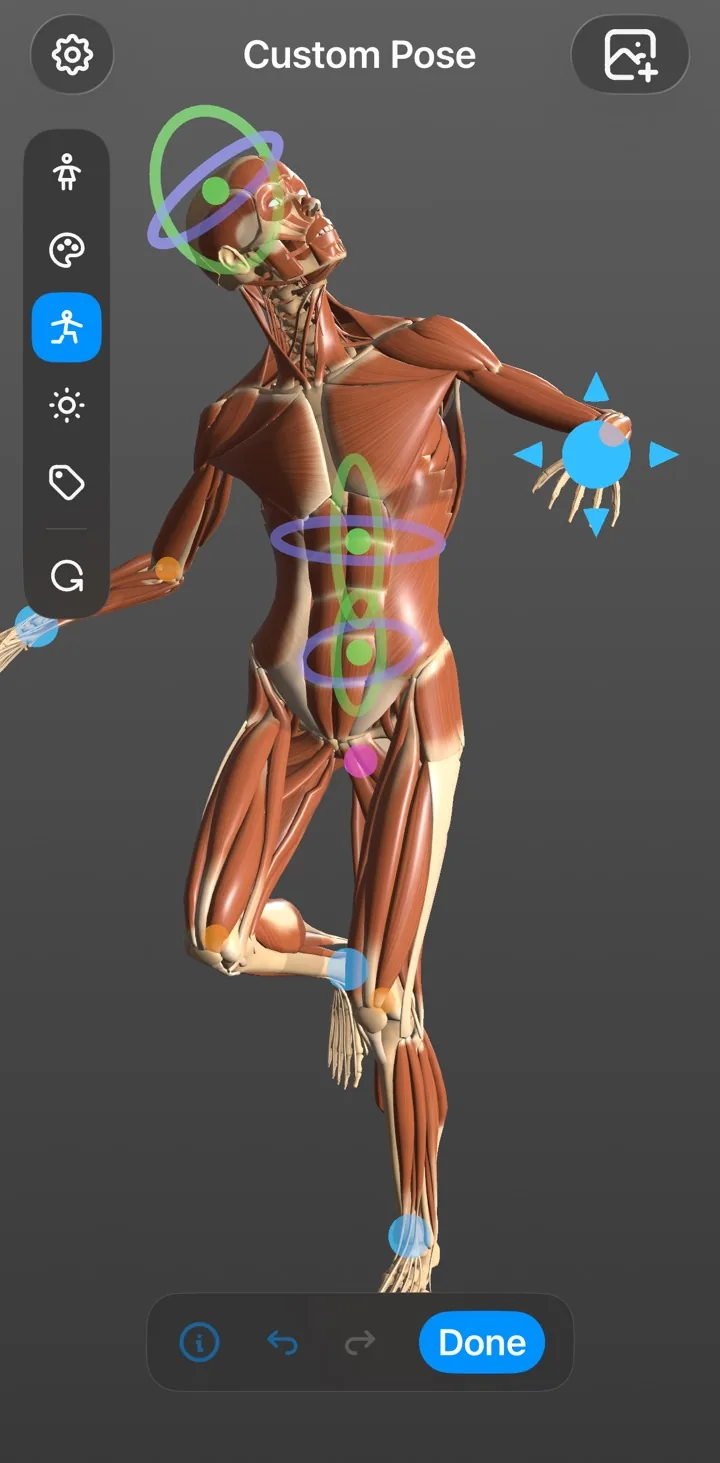
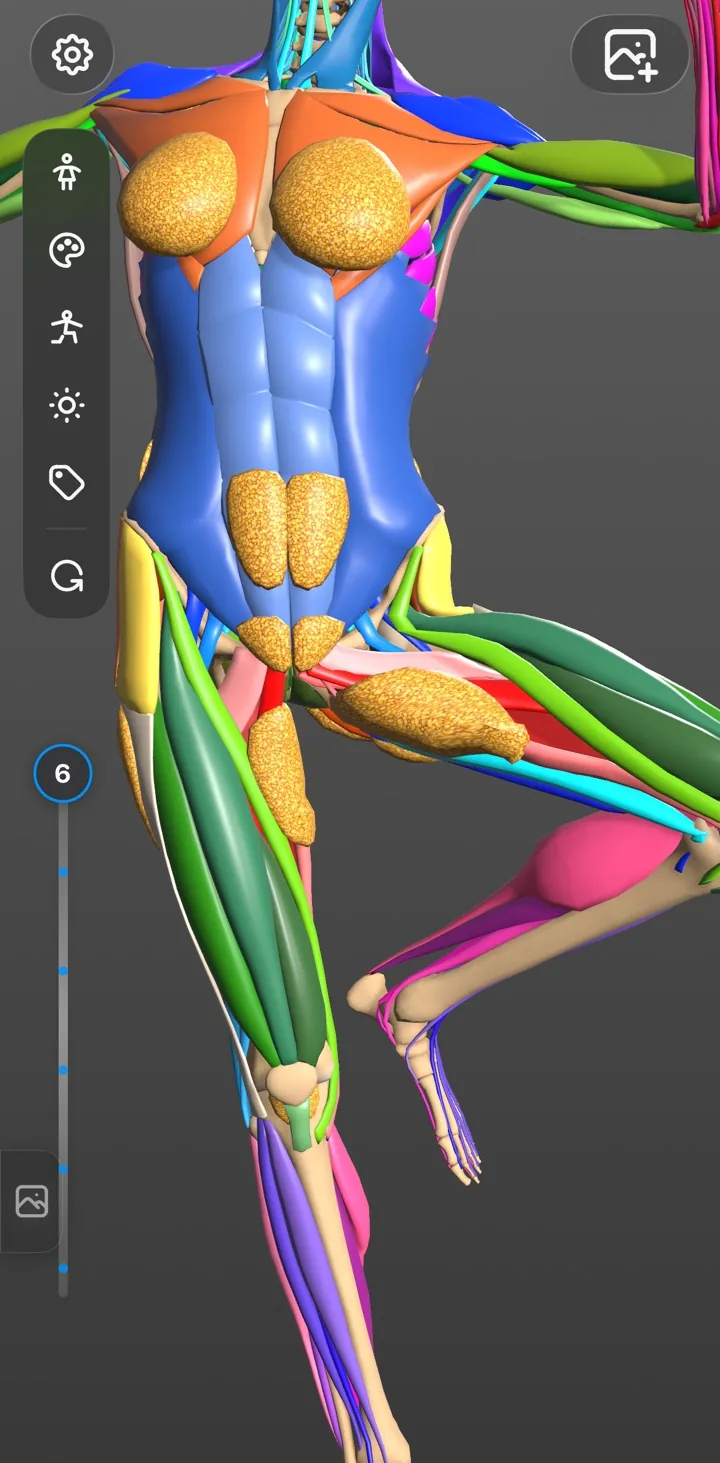
Begin with regions and directional groups: torso, shoulder girdle, upper arm, forearm, pelvis, thigh, and lower leg. Color coding helps separate neighboring forms while you learn how they interlock. Later, turn the colors off and test whether you can still locate the same masses by shape.
Connect every name to two attachments
A label becomes useful when you can trace the muscle between its origin and insertion. Those attachments explain the direction of the fibers, the action at the joint, and where the form disappears beneath another structure. Tap a muscle, isolate it, and follow it around the figure rather than memorizing a flat outline.
Study motion, not a frozen symbol
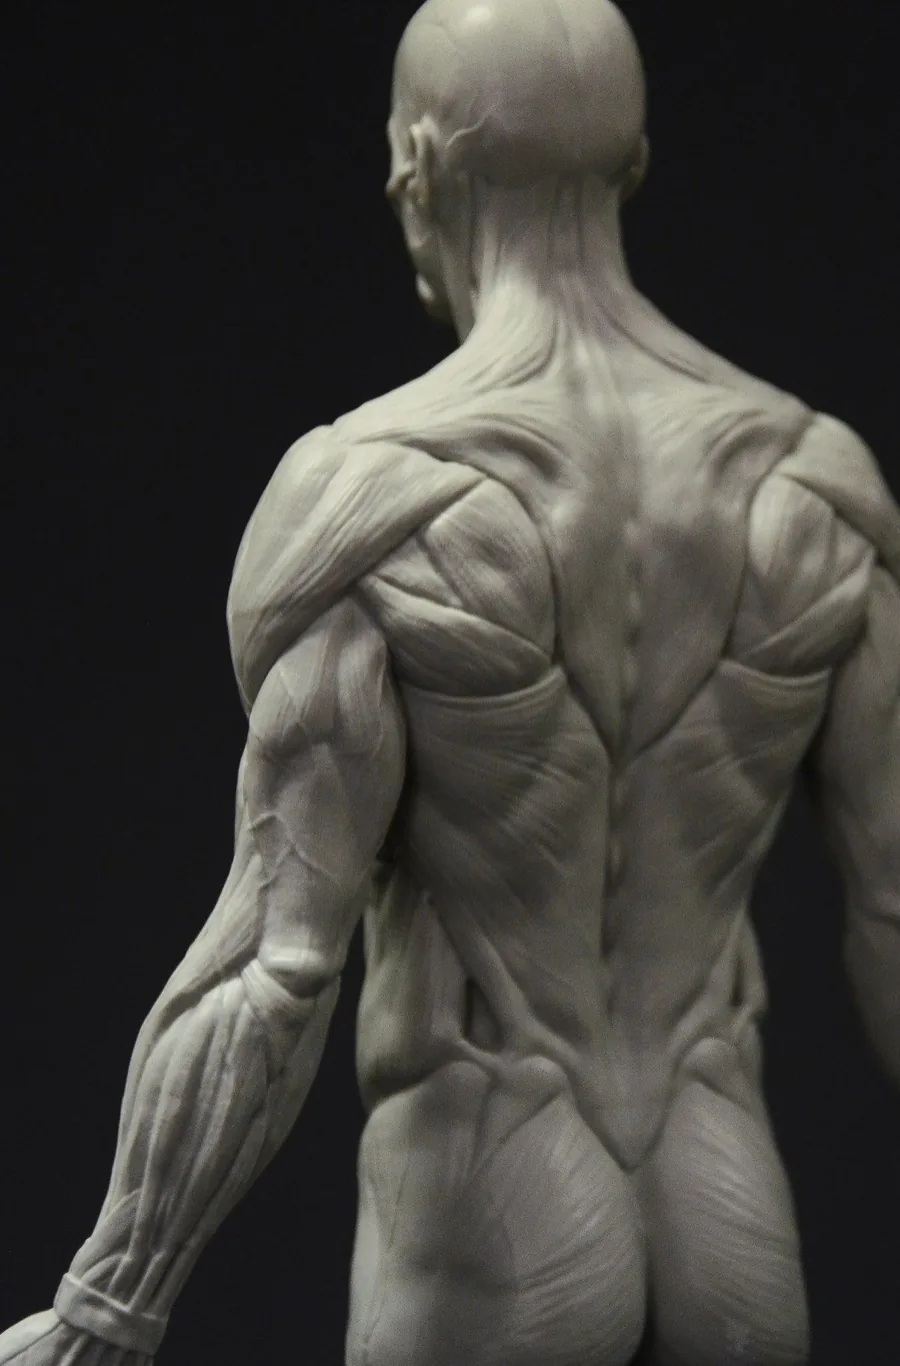
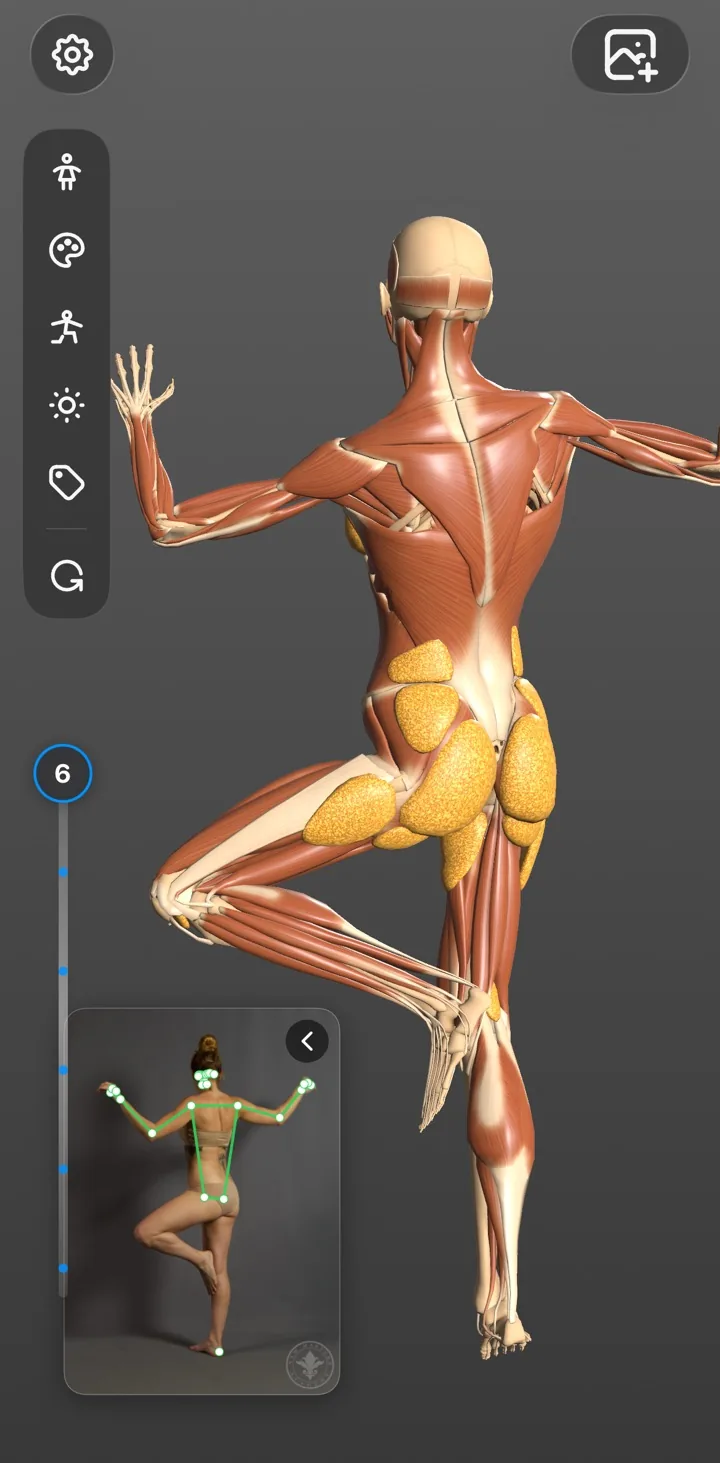
Animate the muscle from lengthened to contracted. Notice which bones move, where the belly becomes fuller, and which neighboring forms compress. Then compare that action with a real pose. A contracted muscle does not always appear dramatically bulged; viewpoint, body type, and lighting still affect what is visible.
- Name the joint crossed by the muscle.
- Predict the action before playing the motion.
- Draw the same muscle in a stretched and contracted pose.
Use a second language without losing the form
Bilingual labels are useful when your class, textbook, and everyday language use different terminology. Keep both names attached to the same three-dimensional structure. This avoids learning two disconnected vocabulary lists and keeps attention on the anatomy itself.